Ah, the lowly testing phase. In all-too-common scenarios, the testing phase is cut short due to scope creep, which extends the deliverables too close to the project deadline. Or sometimes, testing is simply cut out to push an earlier release date. Sadly, many teams omit the critical testing phase simply because they fail to plan for it.
The testing phase is very important for quality assurance and quality control. It encompasses the project tasks required to check that the products you have built do what you said they would. Shoddy testing results in shoddy products, so it needs to be detailed and thorough if you want to get a quality result. Testing is not something you want to cut.
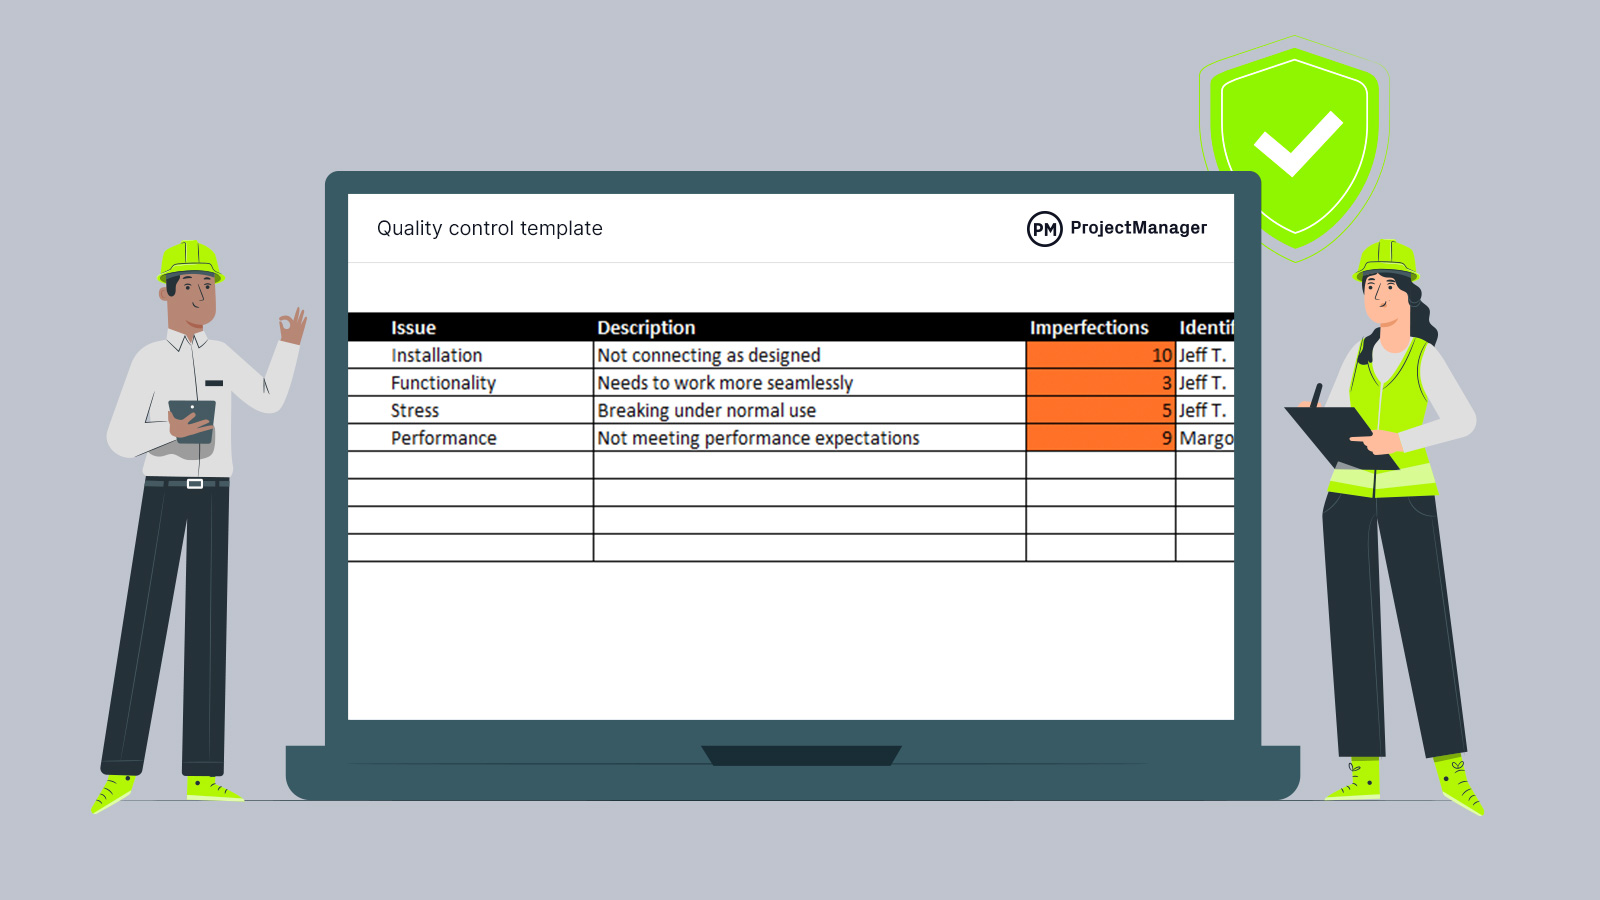
Get your free
Quality Control Template
Use this free Quality Control Template for Excel to manage your projects better.
Here are nine tips for making sure your testing phase is properly planned for, preserved and defended like Fort Knox!
1. Cover All Your Requirements
It sounds obvious, but make sure that your test plans include all the products and deliverables from your project. If you aren’t going to put some part of the project through quality testing then make sure this is clearly specified and you document the reasons (and that everyone agrees).
Deciding to omit various parts of the project from testing should not be taken lightly. Define which parts of the project can be accomplished with automated testing tools and what test suite you’ll be using. Missing requirements out of quality testing means you won’t end up with a robust product at the end. The overall quality will suffer and there might be some aspects of your system that don’t work at all.
2. Prepare Your Documents Early
Don’t leave it until the testing phase of your project to prepare the test scripts or use cases. Pull them together as soon as you can, ideally as you are documenting the requirements or while the system is being designed.
You can upload the test plans and other files to your online document storage files. Project team members can access them while they are developing the product to help them think through how it is going to be used and therefore how it should be developed. Also, it saves you time and lets you hit the ground running when testing is due to start.
3. Involve Your Testers Early
Use your project resource plans to identify who will be doing the testing on the project. Then get them involved in the project as early as you can.
The testers can help you write the test scripts and other documentation such as a test plan. More importantly, they can also help shape how the development is done and they represent the users on the project team if you don’t have a user rep permanently seconded to the project. The more they know about the project and what problems the system should be resolving for users, the better they will understand the testing requirements.
4. Prepare for Bugs
Go into testing aiming for a quality result. That means testing the system to destruction! Prepare your users for the likelihood that they will find errors and that this is a good thing. (Remember how long Google was in “beta” with Gmail?)
Finding errors can be disheartening. However, it’s not realistic to think that there won’t be any. That’s why you test – so they can be uncovered and resolved before the system goes live. Managing the attitude of the team going into testing means morale won’t dip when they start logging pages of errors.
5. Break it Down
Break down your products to the smallest unit you can. That gives you very granular testing. It’s a thorough and robust way to quality-check every single part of your project.
It’s not always possible to notice errors if you are testing at too high a level. By breaking it down you’ll cover everything in a logical and structured way, ensuring the best quality.
6. Analyze the Test Results
The results of a quality test are ‘pass’ or ‘fail’. When a requirement fails, be prepared to work through the reasons for that with the rest of the team or the developer in question. A deep analysis will help you get to the root cause of the failure. That will enable the team to fix the issues more quickly and in turn save you time with retesting.
Many heads are better than one. The user’s perspective on how to resolve the problem and get a quality result could be quite different from that of the development team. Draw on all your experiences and collaborate to pin down exactly why something failed testing.
7. Group Your Quality Tests
Look critically at your test scripts or use cases and see how you could group them together. For example, everything related to the user experience could be one group. Anything to do with taking payment goes in another. Requirements related to logging in and processing transactions could be a third.
You’ve broken down your test requirements into really small blocks to test at a granular level. Now you’re grouping them together to make it easier to manage both on your project plan and when it comes to allocating tasks to your team.
Grouping your tests together also make it easy to find out what needs to be retested if you apply bug fixes. Normally you would test everything that relies on new functionality again, just to ensure it hasn’t broken through the application of a fix or additional feature. This is called regression testing. Using groups lets you quickly identify the tests that need to be performed again.
8. Test Performance
Up until this point you’ve been testing functionality: what the system does. Don’t forget to also test how it behaves. Performance testing uncovers issues with how systems work such as:
- Slow response times; how long it takes to refresh the screen or complete a transaction
- Security problems and vulnerabilities
- How the system responds to multiple users accessing records at the same time
- Whether you can audit the system.
And so on.
It’s much better to uncover performance problems at this point in the project. You could argue that it isn’t a quality outcome if certain performance measures are not met. Testing performance will minimize the number of complaints you get from users when the system goes live.
9. Share the Results
Whether your quality tests result in a pass or fail result, you need to share the results with the people who matter. Use online project management workspaces to manage the flow of information between the test team and the developers. Online discussions and instant messaging make it easy for the relevant teams to talk to each other and share the outcomes of the testing.
Better communication encourages trust within the team – and you want the developers to trust the test results and the testers to trust that what comes back is really fixed. A streamlined approach to data sharing also speeds up getting results and bug fixes. Plus, a team that has planned for and committed to the testing phase will be its biggest advocate if it is threatened.
Keep your project testing phase on track by monitoring progress carefully. ProjectManager uses real-time data capture to show you the exact status of your project at any time, so you can quickly spot if the testing has uncovered major problems and act swiftly to put it right.
